Quick Answer: Green anole eggs need a temperature of 80–85°F (27–29°C), substrate humidity around 70–80%, and roughly 5–7 weeks to hatch under optimal conditions. They’re tiny — about 6–8 mm, white, and leathery — and the single most important rule is never rotate them after placement. Mark the top of each egg immediately with a pencil dot, and leave that orientation alone until hatch day.
Knowing how to take care of green anole eggs properly is the difference between a successful hatch and a container full of collapsed, moldy failures. I’ve watched a lot of first-time keepers make the same preventable mistakes, and almost all of them come down to two things: substrate that’s too wet, and eggs that got flipped. This guide covers everything from the moment you find the eggs to the day the hatchlings need their first meal.
Green Anole Egg Care: What You Need to Know First
What Do Green Anole Eggs Look Like?
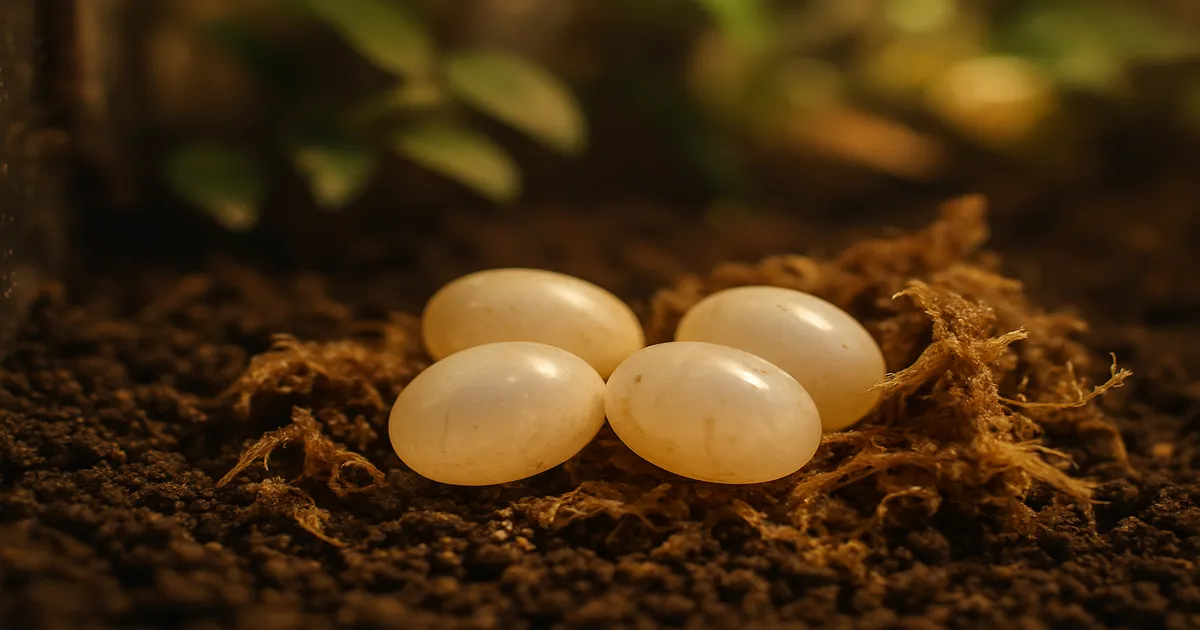
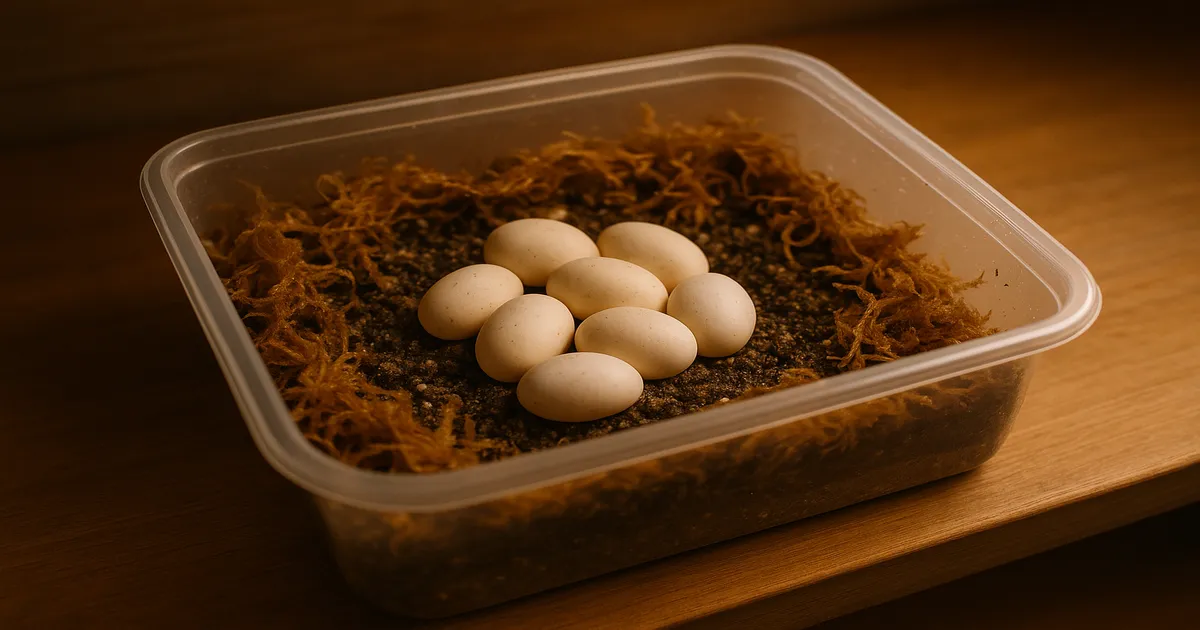
Green anole eggs are small, white, oval, and leathery — nothing like a bird egg. They run about 6–8 mm long and 4–5 mm wide, roughly the size of a large Tic Tac. Freshly laid eggs sometimes have a faint translucent quality, and you might catch a pinkish tinge from early vasculature developing inside — that’s a good sign. If an egg turns yellow, collapses, or grows mold within the first couple of weeks, it was probably infertile to begin with.
Key Numbers Before You Start
- Optimal incubation temp: 80–85°F (27–29°C)
- Acceptable range: 77–88°F (25–31°C)
- Target humidity: 70–80% RH inside the container
- Incubation time: 5–7 weeks at optimal temps; up to 10+ weeks at the cooler end
- Non-viability threshold: 12 weeks without hatching at correct temps
- Golden rule: Never flip or rotate eggs after initial placement
Finding and Collecting Green Anole Eggs
Where Females Lay
In captivity, females lay in loose substrate, potted plant soil, under leaf litter, or in enclosure corners if the substrate is accessible. They want something slightly moist and loose — ideally 1–2 inches deep. I’ve found eggs tucked into the base of a pothos more times than I can count. If you want easier collection, offer a dedicated laying box filled with lightly moistened coconut coir.
Fertile vs. Infertile Eggs
A freshly laid viable egg looks clean, white, and slightly firm. Within the first week or two, infertile eggs typically collapse, turn yellowish, or develop surface mold. Fertile eggs hold their shape and may swell slightly as the embryo develops. If you’re not sure, don’t toss it — give it another week before writing it off.
Never Flip the Egg
The moment you find an egg, mark the top with a small dot using a non-toxic pencil. Don’t use a permanent marker — the solvents can penetrate the shell. That dot tells you the egg’s original orientation, and you need to maintain it through the entire incubation period. Flipping an egg displaces the air cell and essentially drowns the embryo in albumin. It doesn’t matter if you flip it back — the damage is usually already done.
Candling to Check Development
After 2–3 weeks, you can candle eggs to confirm development. Take a small LED penlight into a dark room, hold it gently against the side of the egg, and look for a pink or reddish network of blood vessels. A viable egg will show that vascular structure clearly. An infertile or failed egg looks uniformly opaque, yellowish, or empty. Don’t do this more than once or twice — handling adds risk, and the egg’s appearance will eventually tell you the same story anyway.
Setting Up Your Incubation Container
Container Choice
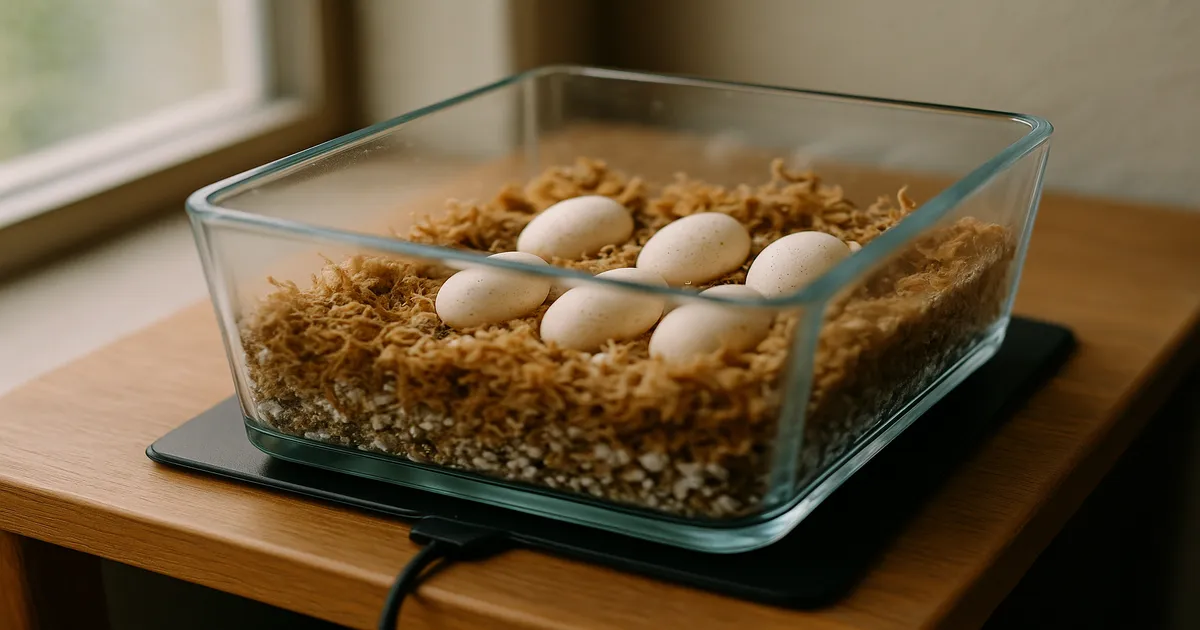
A 32 oz deli cup with a lid works perfectly for a small clutch. Poke 2–4 tiny ventilation holes in the lid with a thumbtack — enough for gas exchange, not so many that humidity drops. Transparent Tupperware also works well since you can monitor eggs without opening the container. Avoid anything fully airtight; sealed containers accumulate CO₂ and create conditions where anaerobic bacteria thrive.
Best Incubation Substrates
| Substrate | Pros | Cons |
|---|---|---|
| Vermiculite (1:1 by weight) | Widely available, excellent moisture retention, inert | Can be too wet if ratio is off |
| Perlite (1:1 by weight) | Good drainage, similar performance to vermiculite | Less moisture retention |
| Hatchrite | Pre-moistened, ready to use | More expensive |
| Sphagnum moss | Natural, good humidity buffer | Prone to mold if too wet |
| Coconut coir | Widely available, good retention | Harder to judge correct moisture |
Vermiculite is what I’d recommend to anyone starting out. It’s inert, so it won’t mold on its own, and it’s forgiving if your ratio is slightly off.
Mixing Vermiculite Correctly
Use a gram scale. Measure out your vermiculite, then add an equal weight of water — 100g of vermiculite gets 100g of water. Mix thoroughly and let it sit a few minutes so the water absorbs evenly. This 1:1 ratio by weight is the standard, and it’s reliable.
The squeeze test: Grab a handful and squeeze firmly. It should hold its shape when you open your hand and release no more than a drop or two of water — ideally none. If water streams out, it’s too wet. Add more dry vermiculite and mix again.
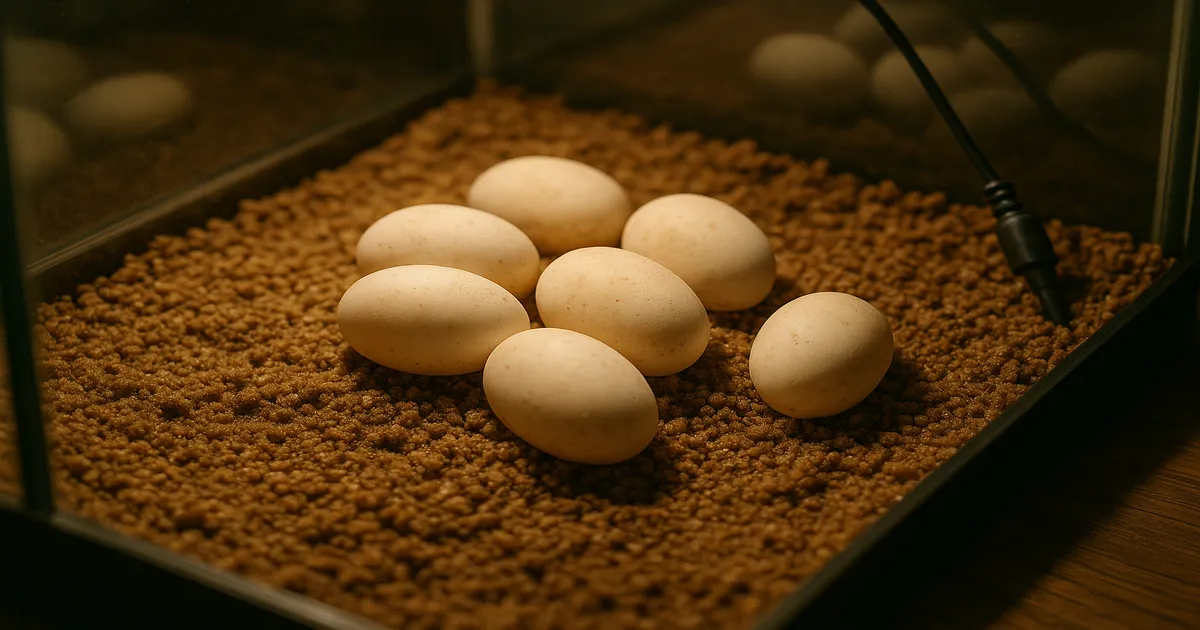
Fill the container to about 1.5–2 inches (4–5 cm) deep. Create a small shallow depression for each egg and nestle it in so the top half stays exposed — don’t bury them. This improves gas exchange and lets you monitor without disturbing anything.
How to Take Care of Green Anole Eggs: Temperature and Humidity
Temperature
The sweet spot is 80–85°F (27–29°C). You can push to 88°F (31°C) for faster hatches, but I’d rather sit at 82–83°F and have a reliable 5–7 week incubation than rush it and risk heat stress. Below 75°F (24°C), development stalls and mold becomes a real problem. Above 90°F (32°C), embryo mortality climbs fast. Consistency matters more than hitting a precise number — swings of more than 5°F in a 24-hour period are harder on developing embryos than a stable temperature that’s slightly off target.
Heating Options
A dedicated reptile incubator is the most reliable option if you’re running multiple clutches. The Hovabator Genesis 1588 and Zoo Med Reptibator are both solid choices. For a single clutch on a budget, a seedling heat mat paired with a digital thermostat works well — just never run a heat mat without a thermostat. Unregulated mats can hit 100°F (38°C) or more on the surface, which will cook your eggs. The Inkbird ITC-306 is an affordable, reliable option for this.
If you live somewhere that stays consistently warm — southeastern U.S. in summer, for example — ambient room temperature incubation is genuinely viable. Keep the container away from AC vents and direct sunlight, and verify temps with a thermometer placed at egg level.
Managing Humidity
The substrate does most of the humidity work for you. A properly moistened substrate in a small container with a few ventilation holes will hold 70–80% RH without much intervention. If you open the container and the substrate looks dry or the eggs look wrinkled, lightly mist the substrate around the eggs — never directly on them. A slightly desiccated egg that’s just starting to wrinkle can often be rescued this way. Wait 24–48 hours before deciding it’s a lost cause.
Monitoring Equipment You Actually Need
- Digital hygrometer/thermometer combo (the small humidor-style ones fit perfectly inside a deli cup)
- Secondary thermometer at egg level — don’t rely solely on your thermostat probe
- Small LED flashlight for candling
- Non-toxic pencil for marking orientation
- Gram scale for mixing substrate accurately
Incubation Timeline: Week by Week
At 82–84°F (28–29°C), expect hatch in 5–7 weeks. At the warmer end of the range (86–88°F), you might see hatchlings in as few as 4–5 weeks. Cooler incubation at 77–79°F (25–26°C) can push that to 8–10 weeks or more. If an egg hits 12 weeks at correct temperatures without any sign of development, it’s almost certainly not viable — but I’ve seen the occasional late hatcher surprise people, so don’t be in a rush to toss it.
Healthy eggs often develop a slightly glossy or “sweating” appearance as the embryo grows. You might notice a pinkish tinge through the shell from the vasculature — that’s exactly what you want to see. Eggs may also swell slightly over the incubation period. None of this is cause for concern.
When things go wrong: Mold on the surrounding substrate is common and manageable — carefully remove the affected area with a toothpick, replace it with fresh moistened vermiculite, and increase ventilation slightly. Mold directly on the egg surface is more serious, but if you catch it early and gently wipe it with a barely damp cloth, the egg can sometimes still hatch. A completely collapsed egg that doesn’t recover after humidity correction is gone. Remove it promptly to prevent mold from spreading.
Assisting hatch: When a hatchling pips, it may sit there for hours — sometimes more than a day. That’s normal. The hatchling is still absorbing the remaining yolk sac, and pulling it out early will rupture that sac and kill it. Wait at least 24–48 hours after pipping before considering any intervention. Honestly, if it can’t get out on its own after that window, intervention usually doesn’t change the outcome. Most hatchlings emerge at night or early morning, so don’t be surprised to find an empty shell when you check first thing.
Hatchling Setup
Enclosure
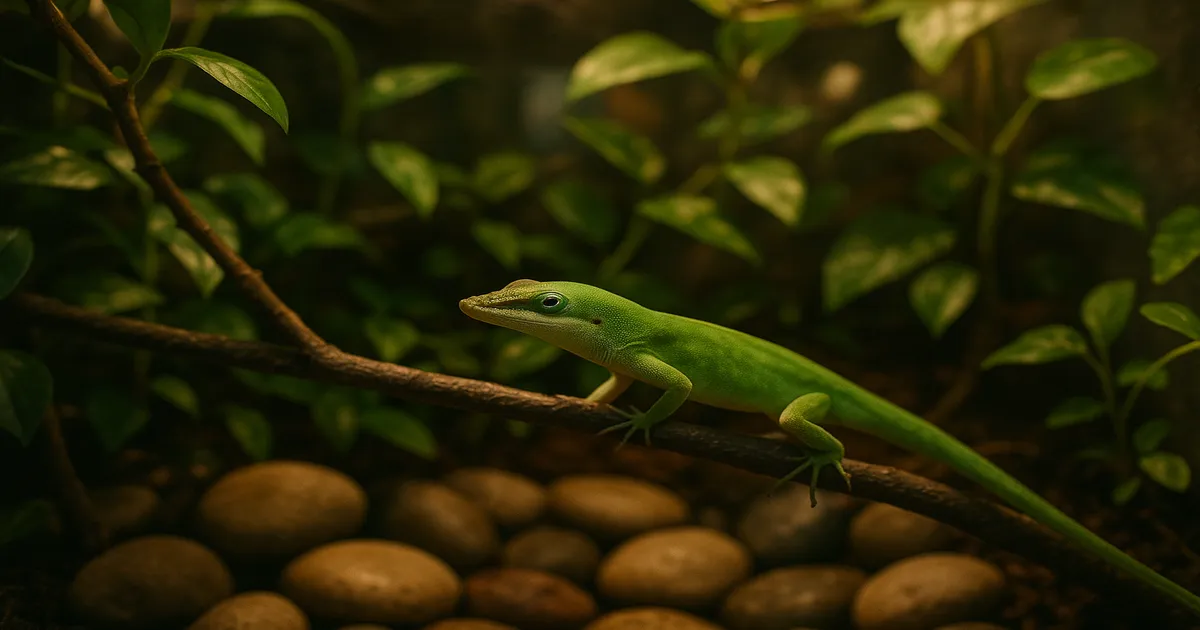
Move hatchlings to their own enclosure immediately — do not leave them with adults. A 10-gallon works for 2–3 hatchlings, but a 20-gallon tall is genuinely better. Green anoles are arboreal, so vertical space matters more than floor space. Add thin branches, cork bark, and live or fake plants (pothos and bromeliads are great) for climbing and hiding. Paper towels make the easiest substrate for the first few weeks — simple to clean, and you can spot problems immediately.
Temperature, UVB, and Humidity
- Basking spot: 90–95°F (32–35°C)
- Cool side: 72–78°F (22–26°C)
- Ambient humidity: 60–70%
UVB is non-negotiable. Green anoles are diurnal and depend on UVB for calcium metabolism — hatchlings without it develop metabolic bone disease within weeks, and severe cases are irreversible. Use a linear T5 HO UVB bulb rated at 5.0 or 6%, like the Arcadia Forest 6% T5 HO. A 25–40W halogen spot creates the basking zone. Mist the enclosure once or twice daily — hatchlings drink droplets off leaves, not from standing water.
First Foods
Offer the first food within 24–48 hours of hatching, once you’re confident the yolk sac is fully absorbed. Pinhead crickets or flightless fruit flies (Drosophila hydei for slightly larger hatchlings, D. melanogaster for very small ones) are the right size. Dust every feeding with a calcium + D3 supplement. The prey-size rule is simple: nothing wider than the space between the hatchling’s eyes. Oversized prey causes impaction, and hatchlings are small enough that even a slightly-too-big cricket is a real problem.
The First Shed
Hatchlings typically shed within 1–2 weeks of hatching. Keep humidity in the 65–70% range during this period and provide rough surfaces — cork bark and branches give them something to rub against. Retained shed on the toes can cut off circulation within days, so check carefully after each shed. If you see stuck shed, a 10-minute warm soak on a damp paper towel usually loosens it without any need to pull.
Common Mistakes That Kill Green Anole Eggs
- Rotating eggs after placement — mark orientation the moment you find them, and never move them again
- Substrate that’s too wet — the single most common cause of egg death; when in doubt, err drier
- Opening the container too often — every time you open it, you disrupt humidity; limit checks to once every 3–5 days
- Heat mat without a thermostat — unregulated mats can spike to 105°F (41°C); always use a thermostat
- Direct sunlight on the container — temperatures can hit lethal levels in minutes
- Throwing out wrinkled eggs too early — mild desiccation is often recoverable; add moisture to the substrate and wait 48 hours
- Assisting hatch too early — if the hatchling has pipped but isn’t out, leave it alone for at least 24–48 hours
- Feeding prey that’s too large — impaction risk is real; stick to the eye-width rule
- Skipping UVB — MBD in hatchlings progresses fast and can be irreversible
- Using a water dish — hatchlings can drown in even a shallow dish; mist walls and leaves instead
Pro Tips for Better Hatch Rates
Lay a small piece of paper towel loosely over the eggs inside the container. It buffers condensation and prevents water droplets from falling directly on the eggs — a trick borrowed from dart frog breeding that works just as well here.
Keep an incubation log. Write down the date each egg was laid, its position in the container, and notes from each check. This sounds like overkill until you’re managing eggs from three females at different stages and can’t remember which container is in week 4 and which is in week 6. A simple notebook works fine.
Within the first week or two, some hatchlings will be noticeably larger than others even from the same clutch. Larger hatchlings dominate basking spots and out-eat smaller ones. Separate by size early — it makes a real difference in the smaller animals’ growth rate.
Frequently Asked Questions About Green Anole Egg Care
How long does it take for green anole eggs to hatch?
At optimal temperatures of 80–85°F (27–29°C), green anole eggs typically hatch in 5–7 weeks. At the warmer end of the safe range, you might see hatchlings in as little as 4–5 weeks. At cooler temperatures around 77–79°F (25–26°C), incubation can stretch to 10 weeks or more. Eggs that haven’t hatched after 12 weeks at correct temperatures are almost certainly not viable.
Can I incubate green anole eggs at room temperature?
Yes, if your room stays consistently between 78–85°F (26–29°C). This is actually common in the southeastern U.S. during summer. The risk is temperature fluctuation — AC cycling, drafts, or cool nights can stall development or cause mold. If you go this route, keep the container in a stable interior location and monitor temps with a thermometer at egg level.
Why did my green anole eggs collapse?
Collapsed eggs are usually caused by one of three things: the egg was infertile, the substrate was too dry and the egg desiccated, or the egg was rotated after placement. If the collapse happened in the first week, infertility is the most likely cause. If it happened later, check your substrate moisture and make sure the egg hasn’t been disturbed. A mildly wrinkled egg that hasn’t fully collapsed can sometimes recover if you increase substrate moisture and wait 48 hours.
How many eggs does a green anole lay at once?
Green anoles lay a single egg at a time, typically every 2–4 weeks throughout the breeding season (roughly April through September in the U.S.). A single female can produce 10–15 eggs over a full season. Don’t expect a clutch of multiple eggs laid together — finding two eggs in the same spot usually means two separate laying events, not a multi-egg clutch.
Do green anole eggs need to be removed from the enclosure to hatch?
Technically no, but practically yes. Leaving eggs in the main enclosure exposes them to unpredictable temperature and humidity swings, substrate disturbance from the adults, and the risk of being eaten. Moving them to a dedicated incubation container gives you far more control and significantly better hatch rates. The only exception is a deep bioactive setup where the substrate conditions are stable and monitored — but even then, retrieval is much harder and monitoring is guesswork.