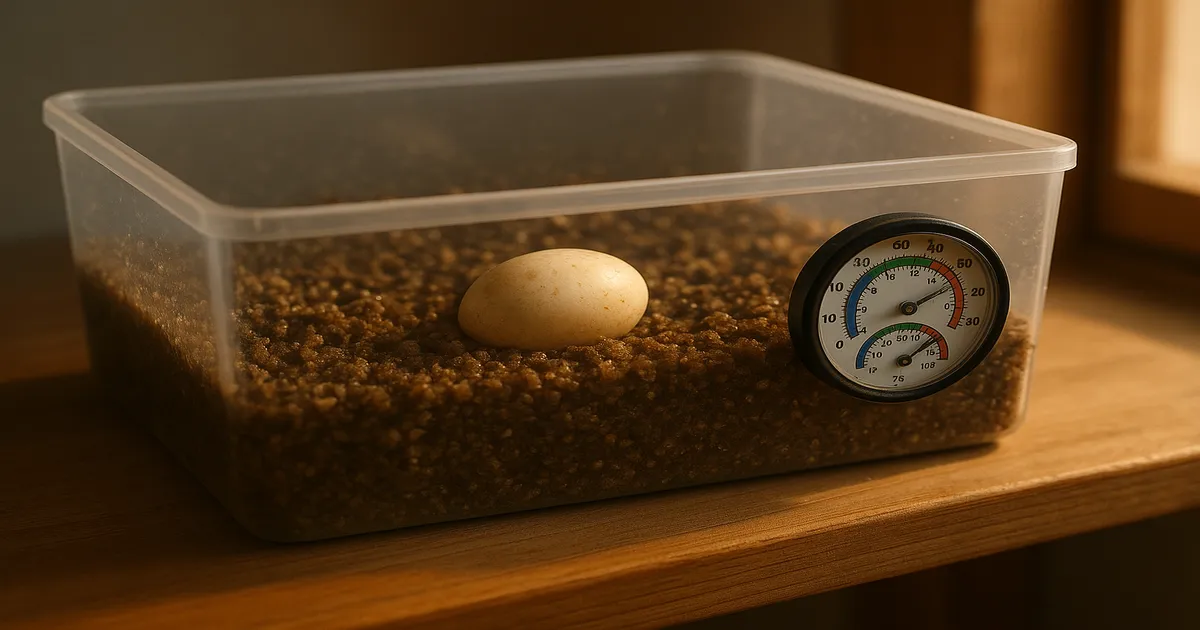
Quick Answer: To care for painted turtle eggs, mark the top of each egg immediately with a soft pencil and never rotate them. Incubate in moist vermiculite at 82–84°F (28–29°C) and expect hatchlings in 65–75 days at that temperature. Once they emerge, move them to 1–2 inches of shallow water and wait 5–7 days before offering food.
Knowing how to care for painted turtle eggs properly is the difference between a healthy clutch of hatchlings and a container full of duds. Painted turtles (Chrysemys picta) are pretty forgiving animals overall, but their eggs are surprisingly fragile — especially in those first few hours after laying. Nail the basics from the start, and the rest is mostly patience and not messing with things you don’t need to mess with.
Painted Turtle Egg Care: Key Numbers at a Glance
| Parameter | Value |
|---|---|
| Incubation temperature | 80–86°F (27–30°C), target 82–84°F |
| Ambient humidity in container | 80–100% |
| Incubation duration | 65–75 days at 82–84°F; up to 270+ days if overwintering |
| Typical clutch size | 2–20 eggs, average 4–10 |
| Hatchling water depth | 1–2 inches (2.5–5 cm) |
| Basking temperature (hatchlings) | 90–95°F (32–35°C) |
Understanding Painted Turtle Nesting Biology
Wild painted turtles nest from May through July, peaking in June, usually during late afternoon or early evening. Females will travel surprisingly far from water — up to 1,000 feet (300 meters) — to find a suitable nesting spot. They dig a flask-shaped nest 3–5 inches (7.5–12.5 cm) deep in loose, sun-exposed soil, drop their eggs, cover them up, and walk away. No maternal care whatsoever after that point.
A single female may lay 2–3 clutches per season. Clutch sizes run 2–20 eggs, with most averaging 4–10 depending on subspecies and the size of the female — western painted turtles tend toward the larger end.
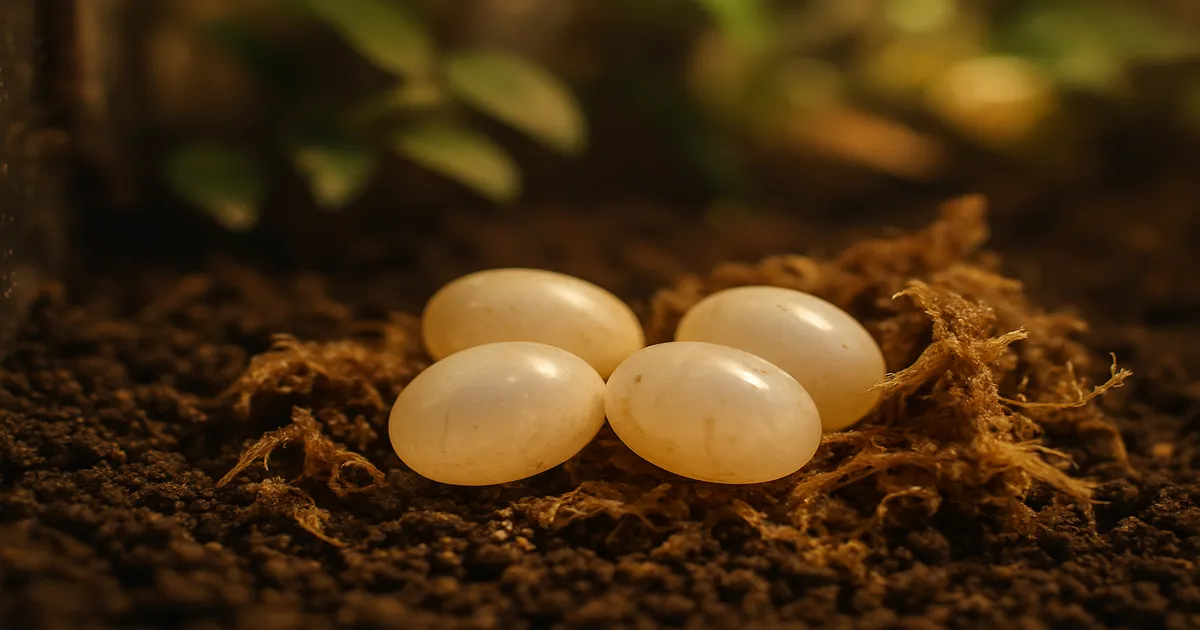
What the eggs look like: White, oval, and flexible. Nothing like a bird egg. The shell is soft and slightly leathery, and it firms up as the egg absorbs moisture during incubation. That shell is permeable to both water vapor and gases, which is exactly why substrate moisture matters so much.
Temperature-dependent sex determination: This surprises a lot of keepers. Painted turtles don’t have sex chromosomes the way mammals do — temperature during development determines sex. Eggs incubated below roughly 81°F (27°C) tend to produce males. Above roughly 87°F (31°C), you’ll get mostly females. The pivotal temperature sits around 84°F (29°C), which is why that’s the sweet spot most keepers aim for — it produces a mixed-sex clutch and keeps development on a healthy timeline.
Late-season clutches: Eggs laid in August or September may not hatch until the following spring, spending 200+ days in the nest. Hatchlings that overwinter can survive temperatures as low as 23°F (-5°C) through supercooling. If you’re incubating a late clutch artificially, you can simulate this by holding eggs at 50–60°F (10–15°C) through winter — more on that in the hatchling section.
Collecting and Handling Painted Turtle Eggs
Mark Them Before You Do Anything Else
Within 12–24 hours of being laid, the embryo attaches to the upper surface of the yolk. Flip or rotate the egg after that, and the embryo ends up submerged in yolk fluid and drowns. This is the single most common way people kill a clutch, and it happens fast. Mark your eggs the moment you pick them up.
Use a soft pencil — not a marker, not a pen — to draw a small X on the top of each egg. Pencil is the right call because it doesn’t introduce solvents through the permeable shell. Once marked, you can transfer eggs to your incubation container without ever losing track of orientation.
Candling for Fertility
Candle your eggs at days 7–10 using a small flashlight in a dark room. Fertile eggs show a pink or red ring near the top, often with visible blood vessels branching outward. Infertile eggs stay uniformly pale or develop a yellow band across the middle. Candle again around day 25 — some eggs that looked fertile early will show a blood ring with no further development, meaning the embryo has died. Pull those promptly so they don’t contaminate the healthy eggs.
Don’t Leave Eggs Unprotected Overnight
If you’ve got an outdoor enclosure, collect eggs the same day they’re laid. Raccoons, opossums, and crows are remarkably good at finding fresh nests, and a flooded nest from a rainstorm can kill eggs within hours. Get them into the incubator the same day.
How to Care for Painted Turtle Eggs: Incubation Setup
Temperature
The safe range is 80–86°F (27–30°C). Aim for 82–84°F (28–29°C) — right at the pivotal temperature, healthy developmental rate, mixed sex ratio. Don’t push it hotter to speed things up. Above 88°F (31°C) you’re looking at increased deformities and failed pips. Sustained heat above 90°F (32°C) is lethal.
How temperature affects timing:
- 80°F (27°C): Roughly 75–90 days
- 82–84°F (28–29°C): Roughly 65–75 days
- 86°F (30°C): Roughly 55–65 days
Fluctuations of ±2°F (±1°C) are fine — wild nests swing more than that daily. What you want to avoid is sustained heat spikes or prolonged cold.
Substrate Moisture
Painted turtle eggs absorb water vapor from the substrate, not directly from the air. What matters is how moist your vermiculite is, not what your hygrometer reads — though ambient humidity inside the container should sit at 80–100%.
The most reliable method: mix by weight. 100g of vermiculite to 100g of distilled water (1:1 by weight). Squeeze a handful — it should hold its shape but not drip. If you’re worried about mold, a 2:1 ratio (vermiculite to water by weight) works well too.
Never mist eggs directly. It disrupts the moisture gradient and can introduce pathogens.
Too dry: Eggs dimple and start to shrink. Correct the substrate moisture quickly and healthy fertile eggs will usually re-inflate within 24–48 hours.
Too wet: You’ll see condensation on the eggs or surface mold developing. A small mold spot on an otherwise healthy egg isn’t always fatal, but it’s a warning to back off the moisture.
Equipment
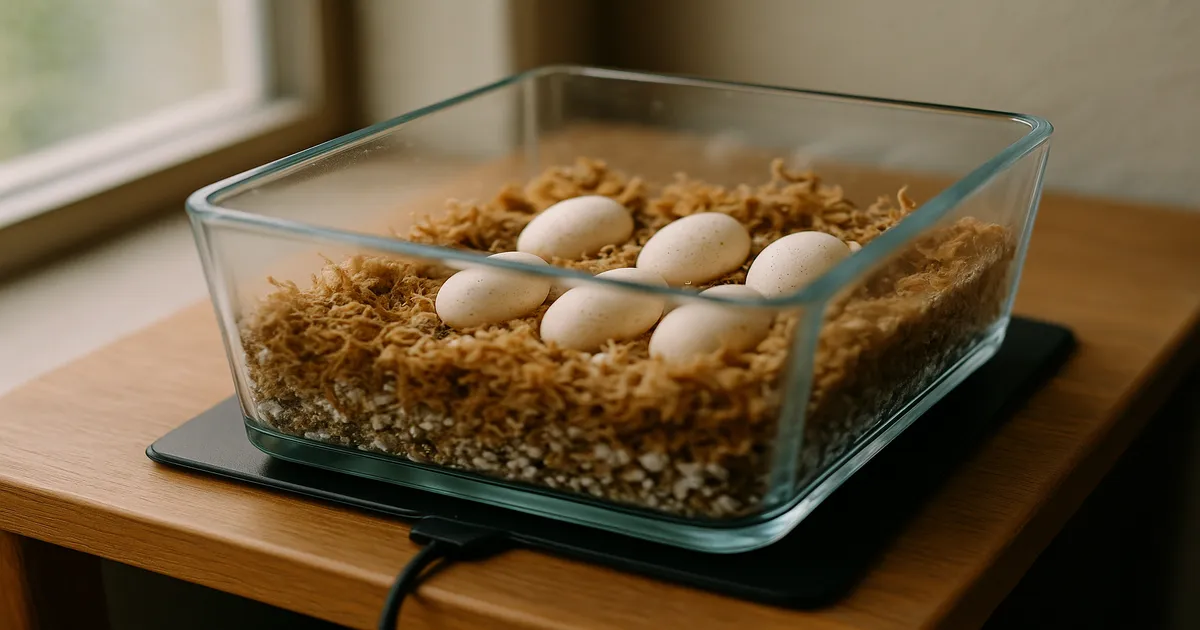
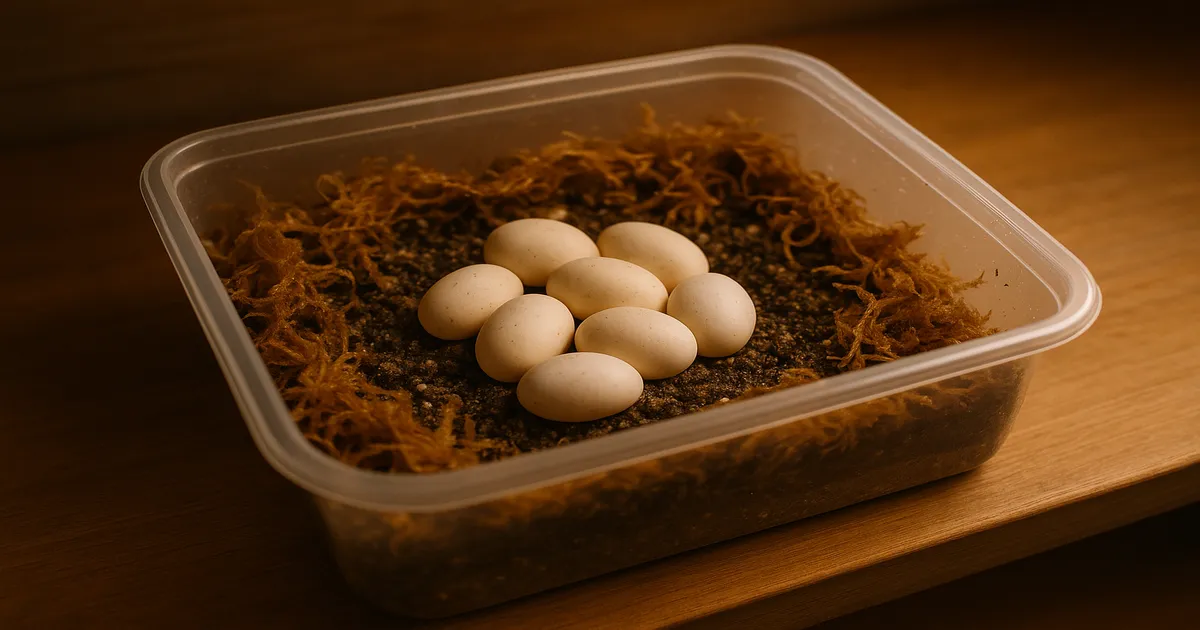
Container: Plastic deli containers — 16–32 oz (475–950 ml) — are genuinely the best option for most keepers. Cheap, transparent, easy to label, seal well. Drill 4–8 tiny ventilation holes (1–2mm) in the lid, or crack the lid slightly every 7–10 days for gas exchange. The cracked-lid approach tends to hold humidity more consistently in my experience.
Incubator: You’ve got options at every price point. A DIY Styrofoam cooler with a low-wattage bulb and a thermostat works on a budget but needs careful calibration. The Hovabator 1588 runs $60–80 and is a favorite among reptile keepers — originally designed for poultry but excellent for reptile eggs. If you’re incubating regularly and want precise digital control, the Brinsea Ovation series is worth the $150–400+ price tag.
Substrate: Vermiculite is the gold standard — inert, holds moisture well, resists mold better than most alternatives, available at any garden center. Perlite works similarly with slightly less moisture retention; same mixing ratios apply. If you’re a first-timer and want something foolproof, Zoo Med Hatchrite is pre-mixed and takes the guesswork out of ratios entirely.
Thermometer: Get a digital probe thermometer and place the probe at egg level inside the incubation container. The Inkbird IBS-TH2 or a ThermoPro TP53 both work well and cost $10–25. Do not trust the incubator’s built-in sensor alone — it reads air temperature near the heating element, which can be 2–5°F off from actual egg temperature.
Step-by-Step Setup
- Mix vermiculite and distilled water at 1:1 by weight using a kitchen scale.
- Fill your deli container to a depth of 1.5–2 inches (4–5 cm).
- Weigh the entire container and write the starting weight on the label, along with the date and clutch info.
- Press each egg gently into the substrate so it’s half-buried, marked top facing up. Eggs can touch — that’s fine.
- Let your incubator stabilize at 82–84°F for 24 hours before adding eggs, then verify temperature at egg level with your independent probe.
- Check every 7–10 days. If the container has dropped more than 3–5 grams from its starting weight, add a few drops of distilled water to the substrate around the edges — not onto the eggs.
Common Mistakes That Kill Painted Turtle Eggs
Rotating eggs after the first 12–24 hours — always mark immediately, before you move them.
Trusting only the built-in thermostat — always verify with an independent probe at egg level.
Incubating above 88°F (31°C) to rush development. It doesn’t work. You get deformed hatchlings or nothing at all.
Opening the container every day “just to check.” Every time you open it, you’re disrupting the humidity equilibrium. Every 7–10 days is enough.
Eyeballing substrate moisture instead of weighing the container. Guessing is how you end up with shriveled eggs or a mold problem.
Throwing out slow eggs too early. Wait until an egg is clearly collapsed, discolored throughout, and smells bad before removing it. Even then, isolate rather than immediately discard — some eggs are just slow.
Setting Up a Hatchling Enclosure
When a hatchling starts cutting through the shell, leave it alone. The full emergence process takes 24–72 hours and that’s completely normal. Don’t assist unless a hatchling has been actively pipping for more than 72 hours without making progress.
Once they’re out, move them to 1–2 inches (2.5–5 cm) of dechlorinated water at 72–78°F (22–26°C) in a plastic bin or 10-gallon (38L) aquarium. They’re capable swimmers, but they’re also exhausted from hatching and may still be absorbing the last of their yolk sac — shallow water keeps them safe during that window.
Provide a flat basking surface — cork bark, a smooth rock, or a commercial turtle dock — that hatchlings can reach easily from the water. Basking surface temperature should hit 90–95°F (32–35°C). UVB lighting is non-negotiable from day one. An Arcadia 6% T5 or Zoo Med Reptisun 5.0 run 10–12 hours per day. Skipping UVB because hatchlings are small is a mistake that shows up weeks later as shell deformities and metabolic bone disease.
Don’t feed for the first 5–7 days. The yolk sac provides complete nutrition during this period. Once they’re ready, start with small offerings of commercial turtle pellets, live or frozen bloodworms, and finely chopped leafy greens. Hatchlings tend to be more carnivorous early on — lean into that.
Late-season hatchlings: If your eggs hatch in September or October, you can overwinter the hatchlings in a refrigerator at 38–45°F (3–7°C) in a damp, ventilated container. Many keepers find that overwintered hatchlings come out of dormancy in spring more vigorous and feeding more readily than those raised straight through. It’s not required, but it’s worth considering for late clutches.
Frequently Asked Questions
How long does it take for painted turtle eggs to hatch?
At the optimal incubation temperature of 82–84°F (28–29°C), expect hatchlings around day 65–75. Cooler temps (around 80°F) push that to 75–90 days. Late-season eggs that overwinter — either naturally or deliberately — can take 200–270+ days before hatching in spring.
What temperature should painted turtle eggs be incubated at?
Aim for 82–84°F (28–29°C). That’s the pivotal temperature for sex determination, so you’ll get a healthy mix of males and females, and development stays on a reliable timeline. Don’t go above 88°F (31°C) — deformities and skewed sex ratios follow quickly.
Can you move painted turtle eggs after they are laid?
Yes, but mark the top of each egg with a soft pencil before you move it, and never rotate them after the first 12–24 hours. The embryo attaches to the upper surface of the yolk within that window — flipping the egg after attachment drowns it. Move carefully, keep orientation correct, and you’re fine.
How do you tell if a painted turtle egg is fertile?
Candle it with a small flashlight in a dark room at days 7–10. A fertile egg shows a pink or red ring near the top, usually with visible blood vessels branching outward. Infertile eggs stay uniformly pale or develop a yellow band across the middle. Candle again around day 25 to catch any that have since died.
What should I do if I find painted turtle eggs in my yard?
Leave the nest undisturbed if at all possible and protect it from predators with a hardware cloth cage staked over the site. If the nest is somewhere it’ll be disturbed — a garden bed, a construction zone, a flood-prone area — carefully excavate the eggs, mark each one’s orientation immediately with a pencil, and incubate them artificially. Don’t move them unless you have to, but if you do, act the same day and keep them oriented correctly.